I’m Here To Assist You
Licata Building System needs your contact information to contact you about our products and services. Our specification manager will contact you shortly in regard to your enquiry.
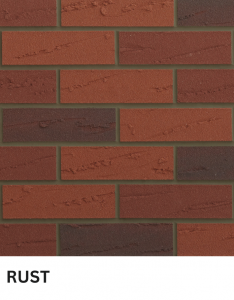
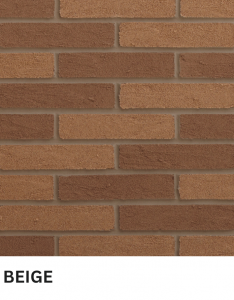
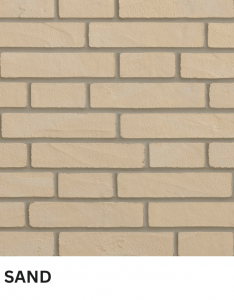
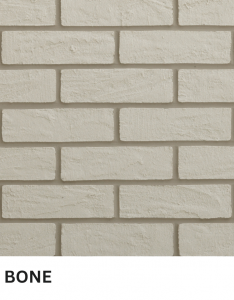
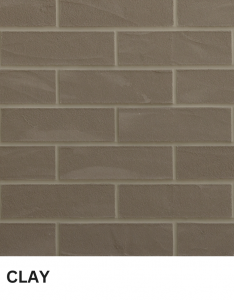
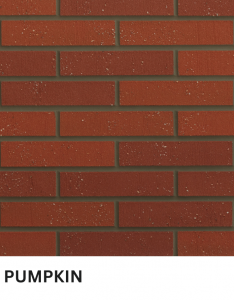
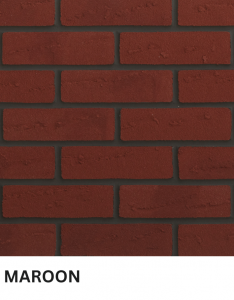
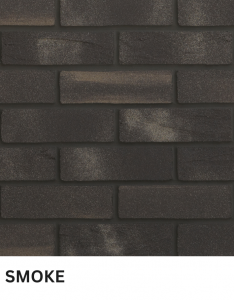
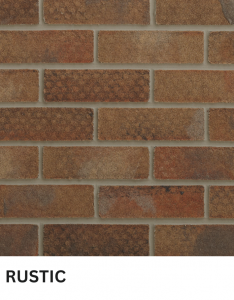
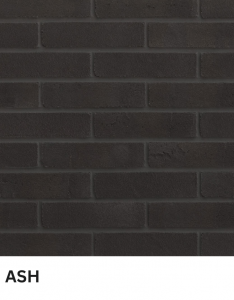
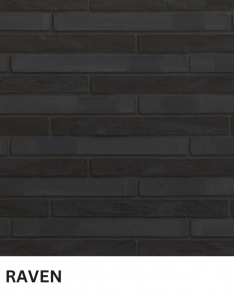
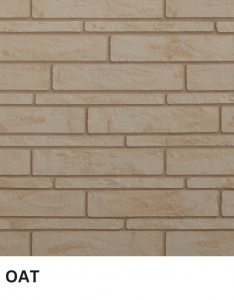
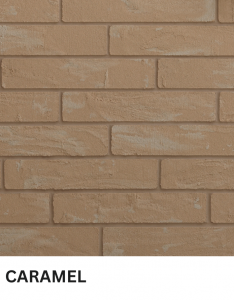
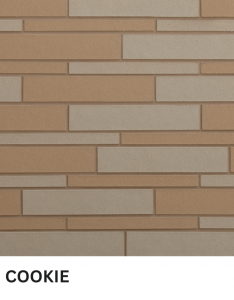
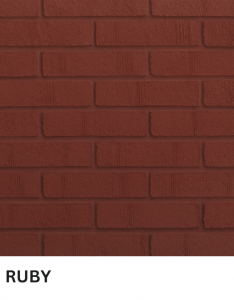
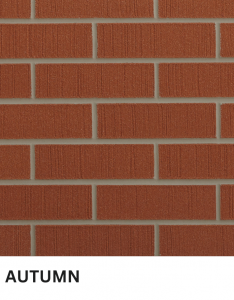
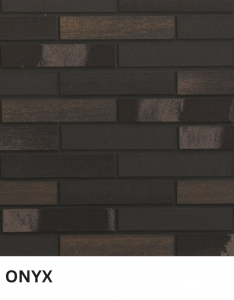
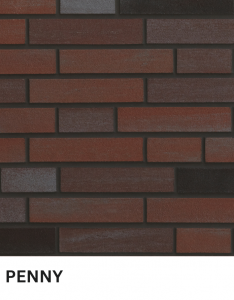
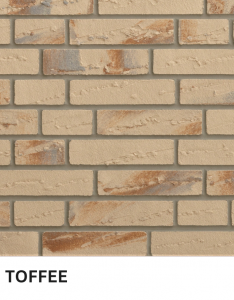
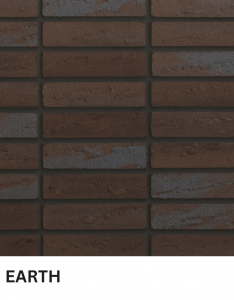
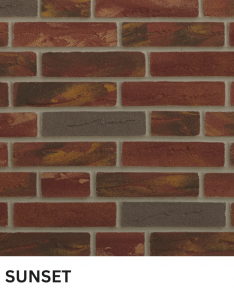
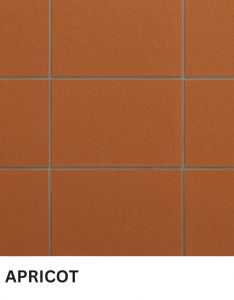
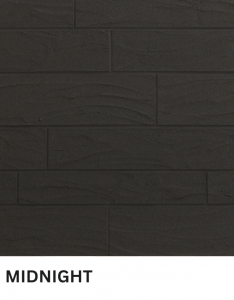
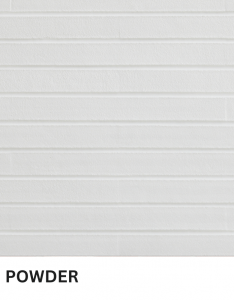
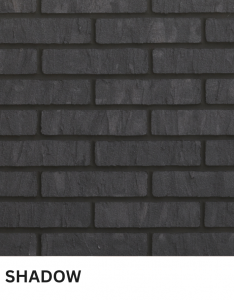
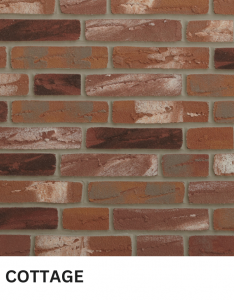
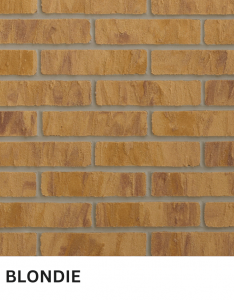
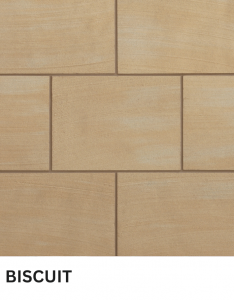
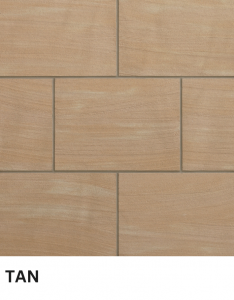
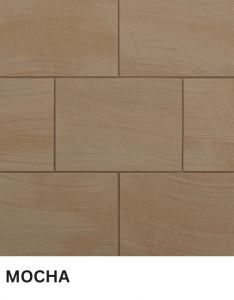
Once laid Mineral brick slips are indistinguishable from traditional brickwork in both look and feel. Below is just a small sample of the colours and textures available. Contact our branches for brick matching and samples services.


Licata mineral brick slips are the perfect choice for a wide array of applications, from remodels to new builds of every size and type. As you can see they are easy to apply and extremely cost-effective. Here are some other benefits you will enjoy when you choose Licata mineral brick slips:
Mineral brick slips have very low maintenance requirements: To the surprise of many Licata mineral brick slips typically require less maintenance than actual bricks. Our mineral brick slips require nothing more than the occasional washing to maintain their handsome looks. You can even use a power washer as long as you remember to set it to low pressure.
They bolster structural integrity: Once installed Licata mineral brick slips work to bolster the strength and structural integrity of exterior walls by resisting moisture and helping to avoid cracking of the facade as often happens with concrete renders. If the health of the people occupying the building is important to you, (and it should be), a mineral brick slip can also resist the formation of potentially dangerous mould and algae.
They enhance a building’s insulation: Most homes in England and Wales were built before 1980, a time when insulation was not a primary concern of most builders. Today, many of these structures continue to have substandard insulation which leads to high energy consumption and high energy bills. A mineral brick slip from Licata can form a barrier around a residential or commercial structure bolstering its insulation capabilities, lowering its carbon footprint and reducing monthly energy bills.
Mineral brick slips are as attractive as they are effective: Mineral brick slips from Licata are not only energy efficient, durable and low maintenance, they are also extremely attractive. Mineral brick slips are indistinguishable from real brick and will give your home or business an immediate boost in kerb appeal. That’s important because kerb appeal can affect the market value of a home by as much as 10% according to real estate studies.
Mineral brick slips provide a long-term solution: Our mineral brick slips are not something you slap up today while you’re contemplating what sort of permanent solution to put in place. They are a permanent solution which in most cases will last for decades with minimal maintenance. Through the years they will retain every bit of their beauty, insulation capabilities and structural integrity. So when you contemplate installing mineral brick slips make sure you pick a colour and pattern you will be happy with long-term.
Mineral brick slips are a cost-effective cladding solution: You can pay top-dollar for real brick if you like, but the question is: Why would you when you can enjoy most of the same benefits by installing mineral brick slips? Mineral brick slips look every bit as good as brick, they are extremely durable like brick and they provide additional insulation like real brick. If you are looking for a cost-effective cladding solution you won’t find any better than mineral brick slips by Licata.
Our mineral brick slips are versatility incarnate: With Licata mineral brick slips you are not confined to using them outdoors in a prescribed manner. Instead, you can employ them in myriad ways that will enhance the beauty and functionality of your home. You can use them to create a postmodern look on an older home. You can use them to enhance the insulation profile of your home or business. You can use them to create a stunning backsplash in your kitchen. Or you can use them to frame your fireplace and enhance the ambiance and aesthetics of your living room.
For nearly 60 years Licata have been providing developers and homeowners with cost-effective cladding solutions that enable them to enjoy maximum practical and aesthetic benefits. In that time we have continually moved to improve our products and to produce new products that better serve our customers’ interests.
Our mineral brick slips are a smart, attractive, cost-effective cladding solution that, with minimal maintenance will look as good and be as useful 10 years on as the day they were installed. If you have questions related to our mineral brick slips get in touch with our sales and technical team.
Licata’s mineral brick slips are made from a mix of assorted quartz sands and a strong binding agent, designed under strictly controlled processes. These raw materials give our mineral brick slips their weather-resistant strength and a natural brick finish that lasts on both internal and external walls.
Unlike extruded brick slips or hand-formed alternatives, our range is tested to meet European guidelines and performs exceptionally well on interior and exterior walls. Whether you’re completing facade cladding or improving the look of commercial and office buildings, our slips deliver lasting value.
The brick slip system we use at Licata is designed to resist stress from temperature changes, helping to avoid micro cracks over time. This makes them ideal for high-rise, office buildings, and building complexes where movement or settling might cause surface issues.
While some traditional brick slips can crack under stress, our mineral brick design absorbs slight shifts in the wall surface without losing shape or bonding. That means fewer repairs, less worry for property owners, and better long-term performance.
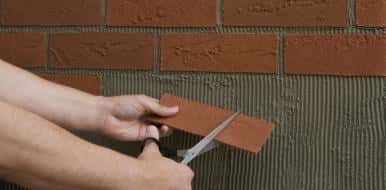
Yes, Licata’s mineral brick slips can be trimmed to your desired size using a utility knife or small angle grinder. This allows smooth application even around sharp corners, outlets, or tricky window edges without needing very expensive reinforcements.
Since these are not extruded versions or flexible acrylic brick slips, cutting them cleanly just takes a bit of basic knowledge and the right tools. We recommend measuring carefully before trimming to save time and avoid waste during further assembly.
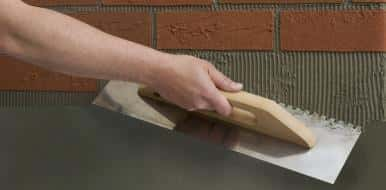
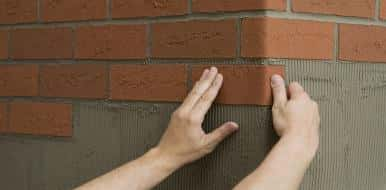
Start by using a notched trowel to spread the adhesive mortar evenly across the entire surface of the wall. Then apply brick slip adhesive directly to the back of the slip as well. This double-bonding method ensures stronger grip and helps prevent lifting.
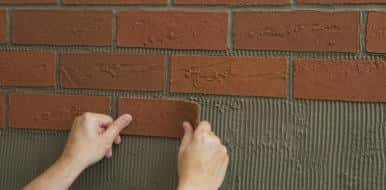
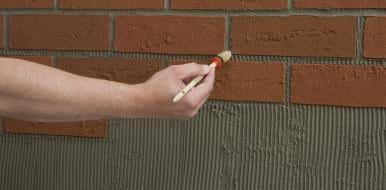
Each slip should be pressed firmly onto the freshly applied adhesive and aligned with a spacer for clean joints. Wipe off any fresh excess adhesive immediately with a damp cloth before it hardens. For best results, work in small sections and carefully press each slip into place.
Traditional brick slips and mineral brick slips, like the ones we offer at Licata, are rigid by nature and do not bend gradually. This provides a solid and realistic brick appearance, which is ideal for installations where a traditional look is preferred.
If you’re after flexibility for curved surfaces or non-linear walls, flexible brick slips or flexible elastolith brick slips might suit better. But when durability, fire resistance, and structural impact matter, our mineral brick range is the trusted choice for exterior walls.
No, Elastolith brick slips are synthetic and often fall under the flexible brick category, while Licata’s mineral brick slips are made from natural sands and offer a much sturdier finish. They’re more similar to traditional brick slips in look and feel, but lighter and easier to handle.
Our products are designed to meet performance demands across shopping centres, new buildings, and large wall areas. So while Elabrick brick slips or Colorado brick slips might offer bendability, mineral brick is the stronger, more fire-safe option for lasting results.
Contact our sales and technical team for advice and information on our systems and products.
![]()
![]() Unit 6, Hampton Business Park Bolney Way, Twickenham TW13 6DB
Unit 6, Hampton Business Park Bolney Way, Twickenham TW13 6DB
![]()
![]() Monday - Friday: 7am - 5pm Saturday: 8am - 12pm
Monday - Friday: 7am - 5pm Saturday: 8am - 12pm
![]()
![]() Unit 5, Brunswick Industrial Park London, N11 1JL
Unit 5, Brunswick Industrial Park London, N11 1JL
![]()
![]() Monday - Friday: 7am - 5pm Saturday: 8am - 12pm
Monday - Friday: 7am - 5pm Saturday: 8am - 12pm
![]()
![]() Unit 4, Schooner Park Schooner Court, Dartford DA2 6NW
Unit 4, Schooner Park Schooner Court, Dartford DA2 6NW
![]()
![]() Monday - Friday: 7am - 5pm Saturday: 8am - 12pm
Monday - Friday: 7am - 5pm Saturday: 8am - 12pm
![]()
![]() Unit 17 Frankley Industrial Estate, Frogmill Rd, Rubery, Birmingham B45 0LD
Unit 17 Frankley Industrial Estate, Frogmill Rd, Rubery, Birmingham B45 0LD
![]()
![]() Monday - Friday: 7am - 5pm Saturday: 8am - 12pm
Monday - Friday: 7am - 5pm Saturday: 8am - 12pm
![]()
![]() Unit 6C Stanley Green Trading Estate, Stanley Road, Cheadle Hulme, SK8 6RB
Unit 6C Stanley Green Trading Estate, Stanley Road, Cheadle Hulme, SK8 6RB
![]()
![]() Monday - Friday: 7am - 5pm Saturday: 8am - 12pm
Monday - Friday: 7am - 5pm Saturday: 8am - 12pm
![]()
![]() Shades House, Hodgson Way, Wickford, Essex, SS11 8yd
Shades House, Hodgson Way, Wickford, Essex, SS11 8yd
![]()
![]() Opening Soon
Opening Soon